Indian Pudding: A Classic New England Dessert
Indian pudding is one of those comforting desserts that carries a piece of American history onto your table. This old-fashioned dish, rich with the flavors of cornmeal, molasses, and aromatic spices, has been warming hearts and kitchens in New England for centuries. If you’re in the mood for a dessert that’s both rustic and deeply satisfying, Indian pudding delivers in every spoonful. Here’s everything you need to know about making this classic treat, including step-by-step instructions, expert tips, storage advice, and a look at what makes this pudding so special.
What Is Indian Pudding?
Indian pudding is a baked custard dessert made from cornmeal, milk, molasses, and a blend of warming spices like cinnamon, ginger, and nutmeg. Despite its name, Indian pudding doesn’t have roots in Indian cuisine; the “Indian” refers to colonial-era terminology for cornmeal, known then as “Indian meal.” Early settlers developed the recipe by modifying traditional British hasty pudding, replacing wheat flour with local cornmeal. Today, this pudding remains a celebrated New England dessert, especially in the fall and winter months when its warmth and spice feel right at home.
Why Try Indian Pudding?
Indian pudding stands out among desserts for its humble roots and deep flavor. Here’s why it’s still beloved:
- Distinctive Texture: The use of cornmeal gives Indian pudding a soft, pudding-like body with a subtle grain that’s both hearty and comforting.
- Cozy Flavors: The combination of molasses, brown sugar, and spices like cinnamon produces a taste that’s sweet, spiced, and just a little smoky.
- Simple Ingredients: You likely have most of the ingredients—cornmeal, milk, eggs, and spices—in your pantry already.
- Nostalgic Appeal: It’s a true heritage recipe, connecting past and present with every bite.
- Flexibility: Indian pudding is great for serving to a crowd or for making ahead of time.
Ingredients You’ll Need
To prepare Indian pudding, gather the following ingredients. For best results, use fresh, high-quality items.
| Ingredient | Amount | Purpose |
|---|---|---|
| Whole milk | 4 cups (1 quart) | Creamy base for richness and moisture |
| Yellow cornmeal | 1/2 cup | Main thickener and distinctive flavor |
| Unsalted butter | 3 tablespoons | Adds richness and helps smooth texture |
| Molasses | 1/2 cup | Key for depth, darkness, and mild bitterness |
| Brown sugar | 1/3 cup | Adds sweetness and moisture |
| Granulated sugar | 1/4 cup | Balances the molasses |
| Ground cinnamon | 1 teaspoon | Spicy warmth |
| Ground ginger | 1/2 teaspoon | Depth and gentle heat |
| Ground nutmeg | 1/4 teaspoon | Fragrant background flavor |
| Salt | 1/4 teaspoon | Enhances flavor |
| Large eggs | 2 | For binding and custard texture |
| Vanilla extract | 1 teaspoon | Aromatic lift |
| Golden raisins | 1/3 cup (optional) | Chewy texture and sweet bursts |
Optional Toppings
- Vanilla ice cream
- Whipped cream
- Maple syrup
- Toasted nuts
Step-By-Step: How To Make Indian Pudding
Making Indian pudding is a patient process, but each step is straightforward. Here’s how to do it:
1. Prepare Your Dish
- Preheat your oven to 300°F (150°C).
- Grease a 2-quart baking dish or 6 to 8 ramekins with butter.
2. Heat the Milk and Butter
- In a large, heavy saucepan, combine the milk and butter.
- Warm over medium heat, stirring often. Don’t let it boil; just heat until the butter melts and the milk is steaming.
3. Cook the Cornmeal
- Gradually whisk the cornmeal into the hot milk. Sprinkle it in slowly and whisk constantly to prevent lumps.
- Keep cooking over medium-low heat, stirring often, for about 10 minutes. The mixture will thicken into a loose porridge.
4. Stir in Sweeteners and Spices
- Remove the pan from the heat.
- Stir in the molasses, brown sugar, granulated sugar, cinnamon, ginger, nutmeg, salt, and vanilla. Mix well to combine.
5. Temper the Eggs
- In a medium bowl, beat the eggs.
- Slowly pour a cup of the hot cornmeal mixture into the eggs while whisking constantly. This step keeps the eggs from scrambling.
- Once tempered, pour the egg mixture back into the saucepan and whisk until fully blended.
6. Add Raisins
- If using golden raisins, stir them into the pudding now.
7. Bake
- Pour the mixture into your prepared baking dish.
- Bake for 1 1/2 to 2 hours, until the edges set but the center is still a bit wobbly. The pudding will firm up further as it cools.
8. Cool and Serve
- Let the pudding cool for at least 20 minutes before serving. This resting time allows the flavors to meld and the texture to set for easy scooping.
- Serve warm, topped with vanilla ice cream, whipped cream, or a drizzle of maple syrup if desired.
Expert Tips for Indian Pudding Success
Drawing on generations of practice, these tips will help you get the most out of your Indian pudding:
- Choose Unsulphured Molasses: The flavor is milder and blends better with the pudding. Avoid blackstrap molasses, which can taste harsh and overpowering.
- Go Low and Slow: Baking at a lower temperature for a longer time lets the pudding caramelize gently and develop a complex, deep flavor.
- Prevent Lumps: Add cornmeal slowly to hot milk and whisk without stopping. Instant polenta can also work for a finer crumb.
- Resting Is Key: A minimum 20-minute rest after baking gives the pudding a creamier set and makes serving easier.
- Customize the Spices: Experiment with small pinches of clove, allspice, or even a splash of bourbon for a twist.
- Batch for a Crowd: Double the ingredients and use a larger baking dish for gatherings; just add 15-30 minutes to the baking time.
- Try a Slow Cooker: Prepare the pudding as above, then transfer to a slow cooker. Cook on HIGH for 2-3 hours or LOW for 5-6 hours.
Serving Suggestions
Indian pudding is humble, but toppings transform the experience:
- Ice Cream: Vanilla is classic, but cinnamon gelato also works beautifully.
- Drizzle of Maple Syrup: Adds natural sweetness and ties into the New England vibe.
- Toasted Pecans or Walnuts: For texture and nutty depth.
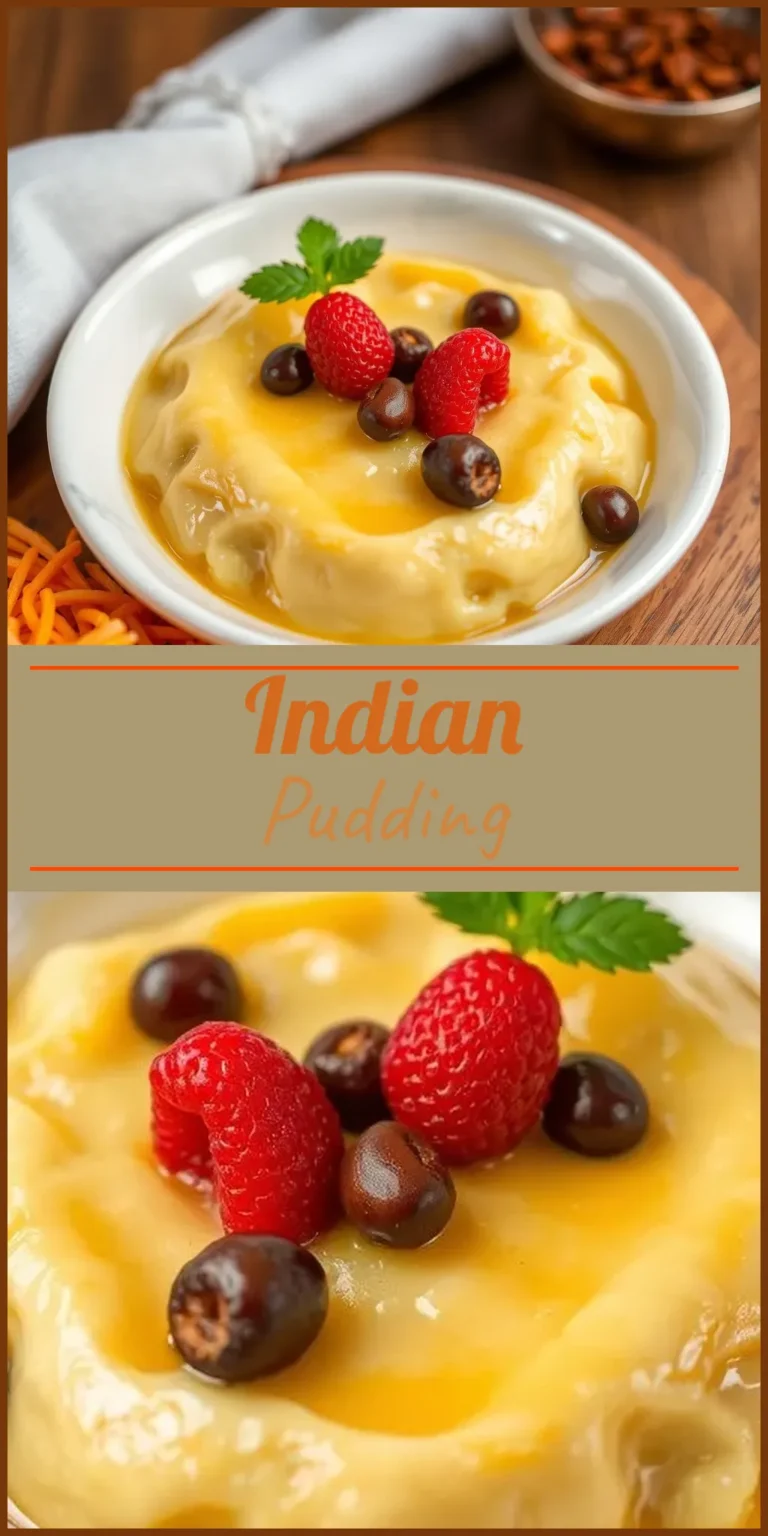
- Fresh Berries: Blueberries or cranberries provide a tart counterpoint.
Try serving it as the finale to a cozy Sunday meal or alongside a spicy main for a well-rounded dinner.
Storing and Reheating Indian Pudding
Indian pudding keeps well, making it an excellent make-ahead dessert. Here’s how to store it:
- To Refrigerate: Let the pudding cool completely, then wrap the dish tightly or transfer to an airtight container. It will last up to 3 days in the fridge.
- To Reheat: Warm individual servings in the microwave for 30–60 seconds, stirring halfway through. For larger amounts, cover loosely with foil and heat in a 300°F oven until hot.
- Freezing Not Advised: The texture may become watery once thawed, so refrigerate rather than freeze.
The Origins and Legacy of Indian Pudding
Understanding where this pudding comes from only adds to its charm. Indian pudding traces its roots to colonial New England, evolving from British hasty pudding—a dish made with wheat flour and sweeteners. With wheat scarce, colonists used Native American cornmeal and local molasses, creating an early New World adaptation. Over time, the recipe took on regional nuances, with families adding their own touches.
Baking a dish shared by early Americans offers a tangible link to the past. It’s a living reminder of the resourcefulness in colonial kitchens, where staples like cornmeal and molasses could transform into something truly memorable.
Frequently Asked Questions
Can I use other types of cornmeal?
Yellow cornmeal is standard, but medium or fine white cornmeal also works.
What if I don’t have molasses?
Substitute with dark brown sugar and a tablespoon of honey or maple syrup, though the flavor will differ.
Is Indian pudding gluten-free?
Yes, as long as all your ingredients are certified gluten-free.
Indian pudding is the kind of dessert that rewards patience. Every step, from slow stirring to gentle baking, pays off in a dish that’s at once robust and delicately spiced. Whether you’re introducing it to someone new or revisiting a family favorite, Indian pudding brings warmth and history to your kitchen—one bowl at a time.