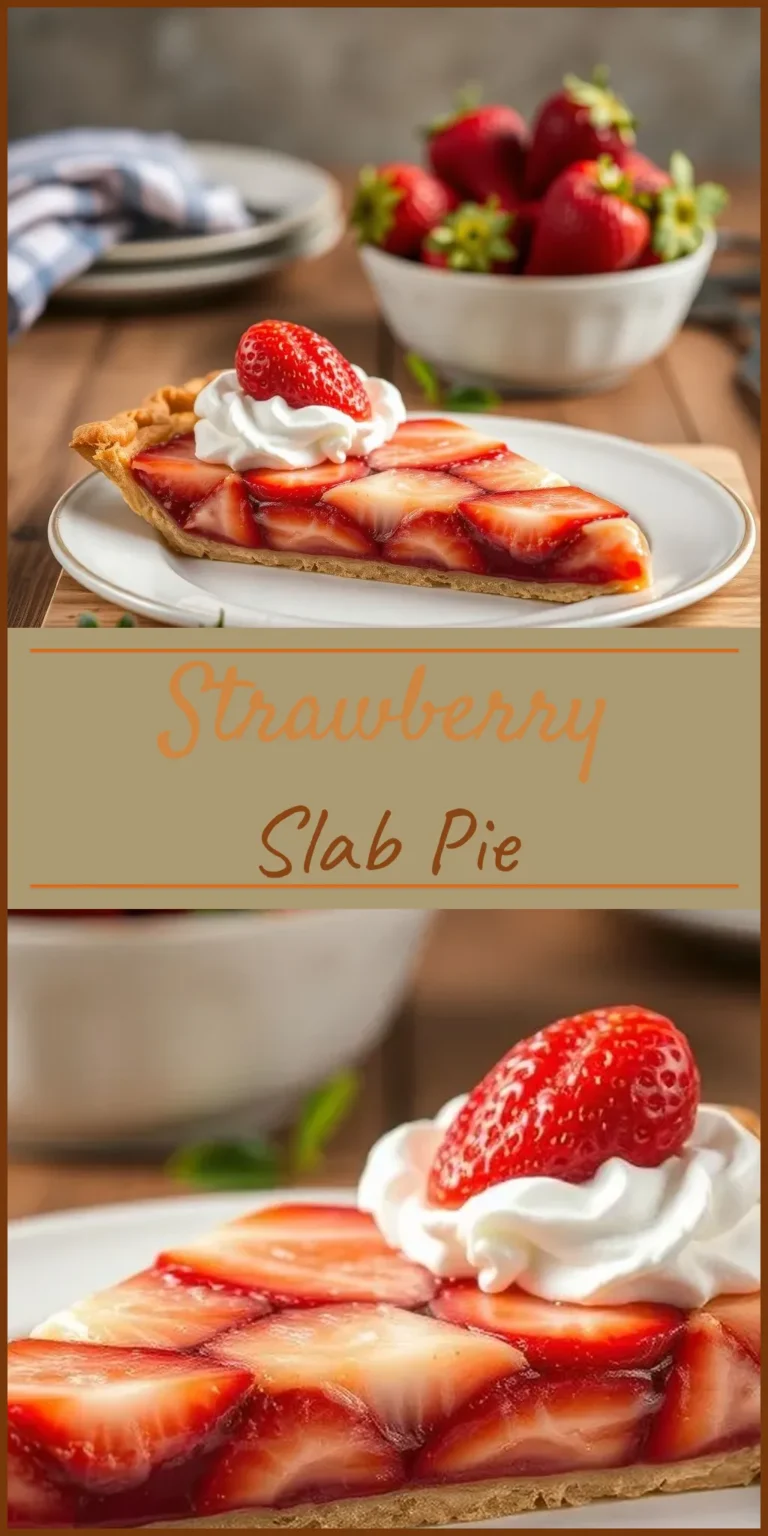
Strawberry Slab Pie
There’s something about strawberries in summer that calls for celebration. Strawberry slab pie turns this seasonal abundance into a dessert that’s easy to share and a pleasure to make. Unlike classic round pies, this rectangular treat bakes up with golden pastry and heaps of juicy berries. It’s ideal for gatherings, picnics, or simply making sure no one misses out on a slice. Let’s dive in: I’ll walk you through every delicious detail.
Why Strawberry Slab Pie Belongs on Your Table
Fruity slab pies are the ultimate crowd-pleaser. With the wide surface and thick berry layer, every bite promises crisp, flaky pastry and a punch of berry flavor. There are more reasons to love it:
- Generous Portions: One slab pie yields up to 20 square slices. There’s no need to make two pies for a party.
- Transport-Friendly: The sturdy crust means it travels well, whether you’re headed to a picnic or potluck.
- Versatile Presentation: A lattice top adds visual appeal, or you can decorate with cut-outs for a playful look.
- Perfect for Peak Season: When strawberries overflow at the farmer’s market, a slab pie showcases their peak flavor admirably.
- Easily Adaptable: Mix in blueberries, raspberries, or diced rhubarb for your own twist.
Ingredients: What You’ll Need
For a successful strawberry slab pie, start with quality ingredients. Here’s a list, alongside their purpose in the recipe:
For the Crust
- All-purpose flour: 4 cups (provides the dough’s structure)
- Granulated sugar: 3 tablespoons (adds a subtle sweetness)
- Salt: 1 ½ teaspoons (enhances flavor balance)
- Cold unsalted butter: 1 cup, diced (ensures flaky layers)
- Vegetable shortening: ¾ cup, diced (adds tenderness)
- Ice water: roughly ¾ cup (binds the dough without making it tough)
- Egg wash: 1 egg beaten with 1 tablespoon water (for a glossy finish)
For the Filling
- Fresh strawberries: 8 cups, hulled and quartered (about 2 to 2½ pounds)
- Granulated sugar: 1¼ cups (sweetens and draws juice)
- Cornstarch: ⅓ cup (thickens the filling)
- Lemon zest: 1 tablespoon (brightens, balances sweetness)
- Lemon juice: 2 tablespoons (adds acidity and helps set the filling)
- Fine sea salt: ¼ teaspoon (balances overall flavor)
- Vanilla extract: 1 teaspoon (enhances fruitiness)
Step-by-Step: How to Make Strawberry Slab Pie
You don’t need years of pie-making experience to pull this off. With these manageable steps, you’ll feel confident from start to finish.
1. Prepare the Dough
Mix the Dry Ingredients:
Combine flour, sugar, and salt in a large bowl.
Cut in Butter and Shortening:
Use a pastry blender or your fingertips to rub butter and shortening into the flour until the mixture resembles coarse crumbs—pea-sized pieces are fine.
Add Ice Water:
Drizzle in water, stirring with a fork. Once the dough begins to clump, press it into a cohesive mass. Divide it in half, flatten each piece into a disc, wrap, and refrigerate 1-2 hours (or up to two days).
Tip: Cold fat leads to flaky pastry, so don’t skip the chilling step.
2. Prepare the Strawberry Filling
As the dough chills, toss strawberries with sugar, cornstarch, lemon zest, juice, salt, and vanilla. Let the mixture rest 20 minutes. This step draws out juice and allows the cornstarch to dissolve, preventing lumps in your filling.
Example: If your berries are juicy early-season fruits, you may want to increase the cornstarch by a tablespoon for extra thickening.
3. Roll Out the Dough
Bring dough discs out of the fridge. On a lightly floured surface, roll one disc into a large rectangle—enough to line a 10×15-inch jelly roll pan with some overhang.
Fit the dough into the pan. Patch any tears by pressing extra dough on top, and keep edges tidy.
Set aside the second disc. You can roll it out to match the base for a solid top, cut into wide or narrow strips for a lattice, or use cookie cutters to make decorative shapes.
4. Assemble the Pie
Spoon the strawberry filling (juices included) into the lined pan, spreading evenly to the corners.
If making a lattice, lay half the strips parallel over the filling, then weave the rest perpendicular, lifting and folding as you go. For a solid top, lay the dough over gently, cut vents, and crimp edges.
Brush all visible pastry with egg wash for extra shine and color.
Tip: Place the assembled slab pie in the fridge for 10-15 minutes before baking—the jump from cold to hot oven encourages flaky pastry layers and helps prevent shrinkage.
5. Bake
While the pie chills, preheat the oven to 400°F (200°C). Set a rack in the lower third to help bake the bottom crust fully.
Slide the pan into the oven. Bake 45-55 minutes, or until the pastry turns deep golden and the filling bubbles through the vents or lattice.
If the top darkens too fast, cover loosely with a sheet of foil for the last 10-15 minutes.
6. Cool and Slice
Let the slab pie cool at room temperature for at least 1 hour before cutting. This allows the filling to set up, making clean slices possible.
You can cool it longer or even refrigerate: slab pie is equally loved at room temperature or cold from the fridge.
Lattice Top: A Quick How-To
A lattice crust elevates the presentation and adds texture. Here’s how you build one:
- Roll out the top dough to a rectangle just larger than your pan.
- Slice into long strips—thicker strips for rustic pies, or thinner for a more delicate touch.
- Lay strips parallel over the filling, spaced apart.
- Fold back alternate strips halfway, then lay a new strip perpendicular at the fold.
- Return folded strips, then repeat the process weaving the rest.
- Trim excess and crimp or seal along the rim of the pan with your fingers or a fork.
Decorate with sugar before baking for a sweet, sparkly finish.
Tips and Troubleshooting for Perfect Results
- No food processor? Blend dough with two forks or your fingertips in a wide bowl.
- Store-bought crust: Two boxes of ready-made crusts (total four rounds) can be pressed together and rolled out to fit the tray.
- Avoid soggy crust: Blind baking isn’t essential, but if you enjoy a crisp base, prick the bottom dough and bake at 350°F for 8-10 minutes before assembling.
- Keep it neat: Bake slab pie atop a larger baking sheet in case any filling bubbles out.
- Easier cutting: Clean your knife or bench scraper between slices for tidy pieces.
Variations and Customizations
Strawberry slab pie adapts well to changing tastes and seasons:
- Mixed Berry: Add blueberries, raspberries, or blackberries (substitute up to half the strawberries).
- Cream Cheese Filling: Spread a thin layer of lightly sweetened cream cheese over the bottom crust before adding the strawberries for a cheesecake twist.
- Chocolate Chip: Sprinkle mini chocolate chips between berry layers for extra decadence.
- Nutty Crunch: Scatter chopped almonds or pecans over the filling.
- Crumble Top: Swap the pastry top for a brown sugar-oat crumble.
- Citrus Zest: Try orange or lime for a flavor change.
Storing and Serving Strawberry Slab Pie
This dessert holds up well, even a day or two after baking.
- Room Temperature: Once cooled, keep covered on the counter for up to 24 hours if your kitchen isn’t too warm.
- Refrigerator: Store slices or the whole pie tightly wrapped. It stays fresh and tasty in the fridge for up to 3 days.
- Freezing (Unbaked): You can assemble and tightly wrap the pie, then freeze for up to 2 months. Bake straight from the freezer, adding an extra 10-15 minutes to the time listed above.
Note: Freezing baked pie is less ideal, as thawed strawberries release moisture and may make the crust soggy.
To reheat, microwave individual slices for 15-20 seconds or warm the entire pan in a 325°F oven for 10-15 minutes.
Serving Suggestions
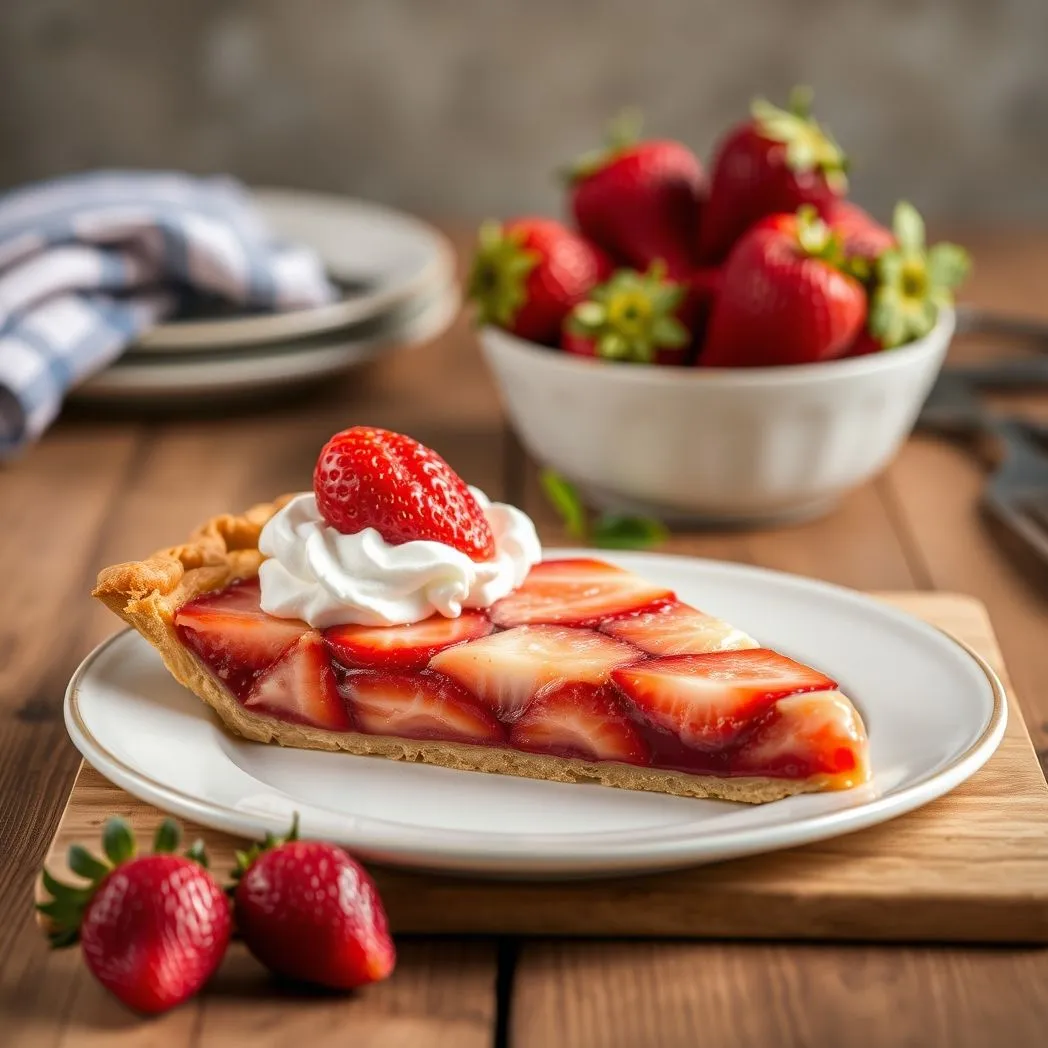
Serve squares of strawberry slab pie on their own, or pair with:
- Fresh whipped cream
- A scoop of vanilla ice cream
- Lightly sweetened yogurt for breakfast or brunch
For picnics, pack cooled slices between sheets of parchment for on-the-go desserts.
Strawberry slab pie captures the season’s best in a crowd-sized treat. Flaky pastry, generous rows of juicy berries, and a golden finish—what could be better? Tweak it to your liking and make it a new staple for summer gatherings.
Strawberry Slab Pie
Slide into summer with this mouth-watering strawberry slab pie. It easily feeds a crowd. It’s perfect for BBQs, potlucks, game days, and more.
Ingredients
- 3/4 cups granulated sugar
- 1 cup cold butter, cubed
- 4 cups (600 grams) fresh strawberries
- 1/3 cup cornstarch
- 1 teaspoon salt
- egg wash
- 1/2 cup ice water
- 2 tablespoons granulated sugar
- 1/2 cup shortening
- 4 cups all-purpose flour
- 1 lemon, zested and juiced
Instructions
- In a food processor, pulse the flour, sugar, and salt until combined. Add the butter and shortening. Pulse until the mixture resembles coarse crumbs. Gradually add the ice water. Pulse until the dough holds together when pressed. Divide the dough in half. Wrap each half and chill for at least 30 minutes.
- Preheat the oven. Set it to 400°F (200°C).
- Wash the strawberries. Remove the stems. Quarter the strawberries. Add them to a large bowl with the sugar, cornstarch, zest of 1 lemon, and 2 tablespoons of lemon juice. Mix well. Cover the bowl. Set aside until the sugar dissolves.
- On a lightly floured surface, roll one disk of dough into a 12x17-inch rectangle. Transfer the dough to a 10x15-inch jelly roll pan. Press it into the corners and up the sides. Pour the filling into the crust. Brush the edges with egg wash.
- Roll the remaining dough large enough to cover the surface. Cut the dough into strips to create a lattice. Alternatively, lay the whole sheet over the top of the pie. Cut slits in the top to allow steam to escape.
- Brush with egg wash. Bake for 45-50 minutes or until the crust is golden brown. Bake until the filling is bubbly. Cool on a wire rack before serving.