Are you craving delicious Red Lobster Cheddar Bay Biscuits? I’m sharing a simple homemade recipe that lets you make these cheesy, flaky biscuits right in your own kitchen.

Few moments in a meal are as delightful as biting into a warm, cheesy, and flaky biscuit. I’ve always loved Red Lobster’s Cheddar Bay Biscuits, but I was amazed at how simple it is to make a homemade version that tastes just as fantastic. Once I mastered the recipe, I couldn’t wait to share it with friends and family.
These biscuits are quick to prepare and use pantry staples, making them perfect for any occasion. Whether as a snack, side, or appetizer, they turn a regular meal into something special. I promise, you’ll soon be making these restaurant-style treats in your own kitchen with confidence and ease.
If you’ve ever wanted to recreate that irresistible flavor at home, this guide will walk you through every step. It’s easy, fun, and foolproof—and before you know it, your kitchen will be filled with the delicious aroma of freshly baked Cheddar Bay Biscuits.
1. Red Lobster Cheddar Bay Biscuits
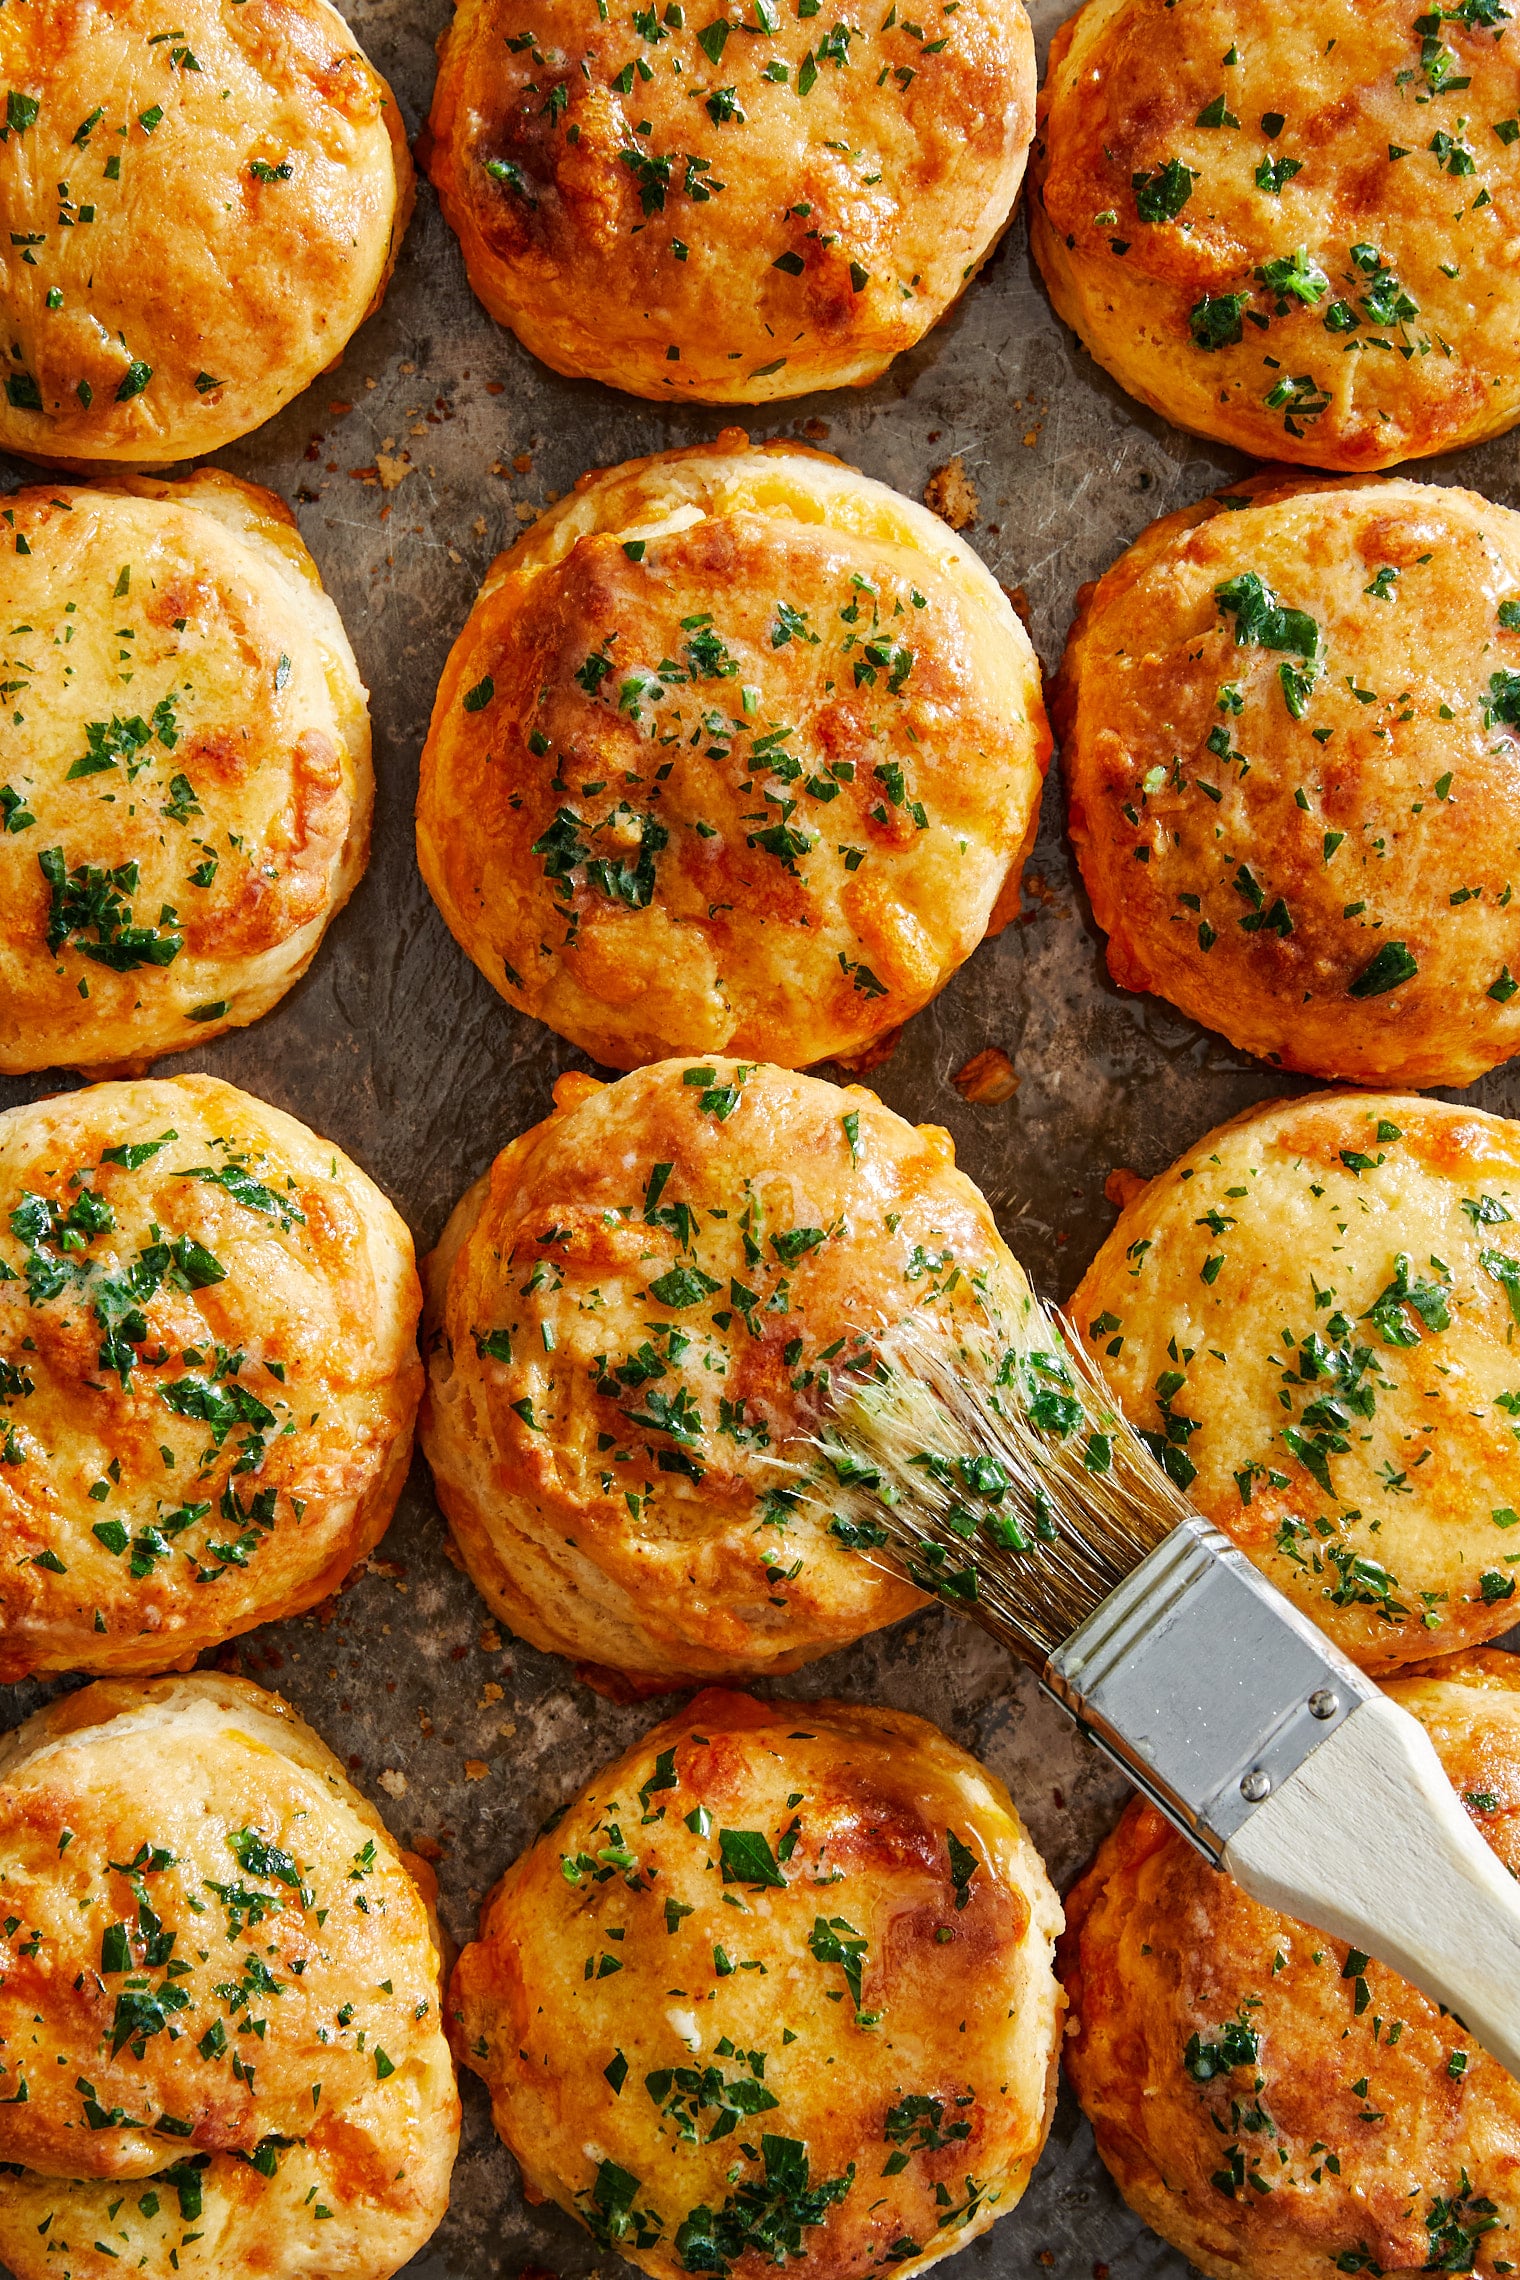
These Red Lobster Cheddar Bay Biscuits are so quick and simple to make in just 30 minutes, and they turn out buttery, flaky, and incredibly delicious. They’re perfect as a snack, appetizer, or side dish, and you’ll love how easy it is to create those restaurant-style biscuits right at home with pantry staples!
Read the Recipe: Red Lobster Cheddar Bay Biscuits
2. Copycat Red Lobster Cheddar Bay Biscuits
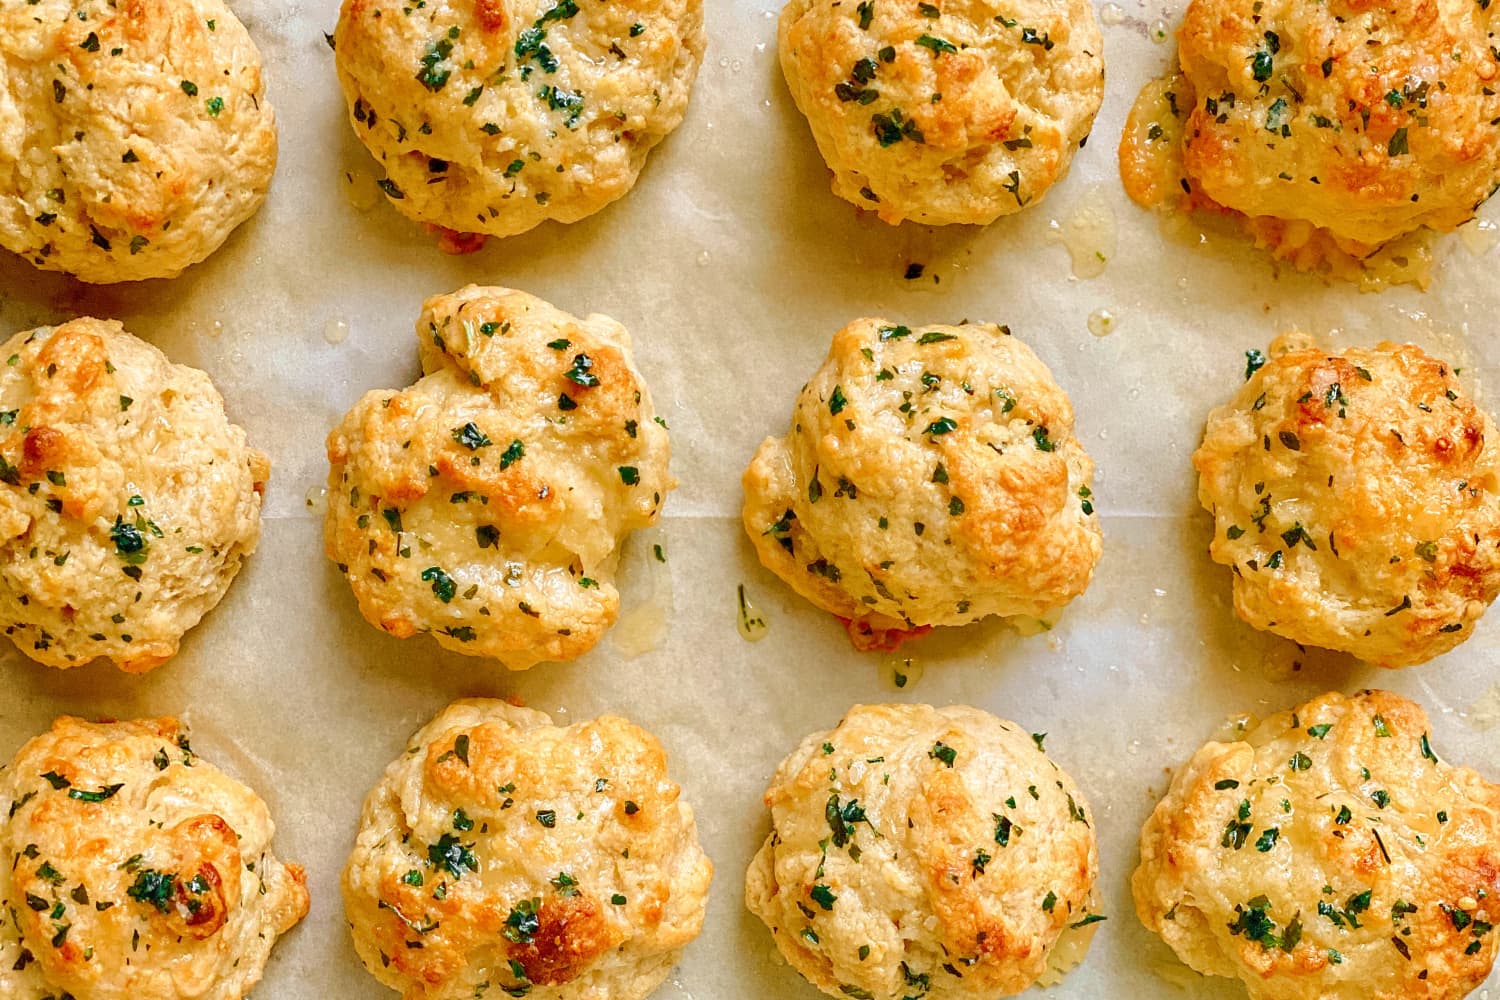
These homemade Cheddar Bay Biscuits are irresistibly buttery, cheesy, and garlicky, just like the famous ones from Red Lobster. Made with simple ingredients like sharp white cheddar, buttermilk, and garlic powder, they come together quickly and are perfect for any craving, delivering warm, fluffy bites packed with flavor.
Read the Recipe: Copycat Red Lobster Cheddar Bay Biscuits
3. Red Lobster Cheddar Bay Biscuits [www.spendwithpennies.com]
![Red Lobster Cheddar Bay Biscuits [www.spendwithpennies.com]](https://www.spendwithpennies.com/wp-content/uploads/2022/08/Red-Lobster-Cheddar-Bay-Biscuits-SpendWithPennies-11.jpg)
These Cheddar Bay Biscuits are irresistibly light, fluffy, and cheesy, with a buttery garlic flavor that makes them disappear in no time! Perfect to enjoy fresh from the oven or as a tasty snack, they pair wonderfully with seafood or any meal you love, and you can make them easily from scratch or with a simple biscuit mix for quick convenience.
Read the Recipe: Red Lobster Cheddar Bay Biscuits [www.spendwithpennies.com]
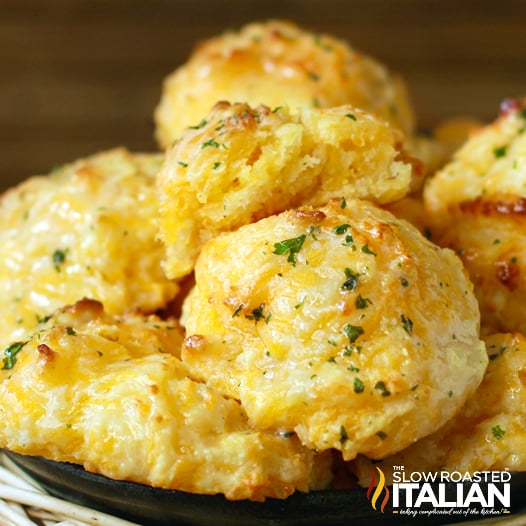
4. Red Lobster Cheddar Biscuits
:max_bytes(150000):strip_icc()/260622-red-lobster-cheddar-biscuits-DDMFS-4x3-24489108d4e14e6c8cbc2710478cc48a.jpg)
These Red Lobster Cheddar Biscuits are irresistibly cheesy and easy to make at home, with loaded Cheddar cheese and brushed with seasoned butter. In just 15 minutes of baking, you’ll have warm, bite-sized biscuits that perfectly mimic the restaurant’s famous treat—no kneading needed, just drop the batter onto a baking sheet and enjoy!
Read the Recipe: Red Lobster Cheddar Biscuits
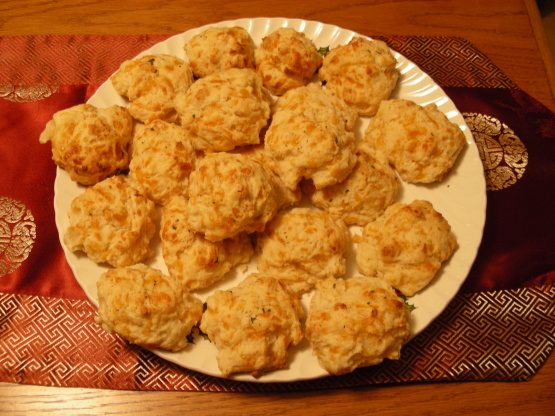
5. Red Lobster Cheddar Bay Biscuits Copycat

These Red Lobster Cheddar Bay Biscuits Copycat are super simple to make and turn out golden, flaky, and cheesy every time! Just mix your dry ingredients, grate in some butter, fold in cheesy goodness, and bake until perfect – a delicious side for any summer feast that will have everyone asking for seconds.
Read the Recipe: Red Lobster Cheddar Bay Biscuits Copycat
6. Copycat Red Lobster Cheddar Bay Biscuits [www.delish.com]
![Copycat Red Lobster Cheddar Bay Biscuits [www.delish.com]](https://hips.hearstapps.com/hmg-prod/images/copycat-red-lobster-cheddar-bay-biscuits-index-6711721b8350c.jpg?crop=1.00xw:1.00xh;0,0&resize=1200:*)
Craving those cheesy, flaky Red Lobster Cheddar Bay Biscuits? Simply mix flour, baking powder, salt, butter, milk, cheddar, and garlic powder until a sticky dough forms, then dollop it onto a baking sheet and bake until golden. Finish by brushing warm biscuits with a garlic parsley butter for that irresistible burst of flavor!
Read the Recipe: Copycat Red Lobster Cheddar Bay Biscuits [www.delish.com]
7. Cheddar Bay Biscuits (Red Lobster Copycat Recipe) + Video
These Cheddar Bay Biscuits are light, flaky, and bursting with garlic and cheesy goodness, with a golden, crispy outside and tender inside. They come together in just 20 minutes using simple ingredients with minimal dishes, making them perfect for quick, delicious snacks or side dishes!
Read the Recipe: Cheddar Bay Biscuits (Red Lobster Copycat Recipe) + Video
8. Red Lobster Cheddar Bay Biscuits [www.food.com]
![Red Lobster Cheddar Bay Biscuits [www.food.com]](https://img.sndimg.com/food/image/upload/w_555,h_416,c_fit,fl_progressive,q_95/v1/img/recipes/31/20/6/0vxpkMZdQpI2hB8A0XZ4_9ljkKnTSVeqolXCVGkdJ_0S9A2101.jpg)
Imagine biting into fluffy, golden biscuits bursting with cheddar cheese and topped with a savory garlic and Old Bay butter. In just 15 minutes, you’ll have warm, irresistible treats perfect for any occasion!
Read the Recipe: Red Lobster Cheddar Bay Biscuits [www.food.com]
9. Red Lobster Cheddar Bay Biscuits [sweetcayenne.com]
![Red Lobster Cheddar Bay Biscuits [sweetcayenne.com]](https://sweetcayenne.com/wp-content/uploads/2020/06/68.jpg)
These Red Lobster Cheddar Bay Biscuits are made from scratch using simple ingredients, no rolling or cutting needed, and turn out light, fluffy, and super flavorful. Just mix the ingredients, drop spoonfuls on a baking sheet, bake until golden, then brush with a delicious garlic herb butter—perfect for any seafood feast!
Read the Recipe: Red Lobster Cheddar Bay Biscuits [sweetcayenne.com]
10. Cheddar Bay Biscuits (Red Lobster Style)
These Cheddar Bay Biscuits are super easy to make and taste just like the famous Red Lobster version! Simply mix bisquick, cheddar cheese, milk, and melted butter, drop spoonfuls onto a baking sheet, brush with garlic-infused butter, sprinkle with extra cheese if you like, and bake until they’re golden and fluffy—perfect for serving warm and cheesy!
Read the Recipe: Cheddar Bay Biscuits (Red Lobster Style)
11. Red Lobster Biscuits: The Buttery Icons You Can Bake at Home

These Red Lobster Biscuit copies are soft, buttery, cheesy, and packed with garlic flavor that makes them absolutely irresistible! Simply mix flour, cheese, baking powder, and seasonings, then stir in buttermilk and melted butter before dropping spoonfuls onto a baking sheet—no kneading or shaping needed—bake until golden, and brush with garlic butter for mouthwatering bites straight from your oven.
Read the Recipe: Red Lobster Biscuits: The Buttery Icons You Can Bake at Home
12. Copycat Red Lobster Cheddar Biscuits

These homemade Red Lobster Cheddar Bay Biscuits are irresistibly crunchy on the outside and buttery and cheesy on the inside, with a perfect punch of garlic. Just mix simple ingredients, bake for about 22 minutes, and enjoy warm, flaky, and totally addictive biscuits that taste just like the restaurant’s famous side!
Read the Recipe: Copycat Red Lobster Cheddar Biscuits
13. Red Lobster Cheddar Bay Biscuits Recipe

These Cheddar Bay Biscuits are a bakery-style treat made from scratch with fluffy, flaky layers, cheddar cheese, and a garlic-herb kick that’s so tempting! In less than 30 minutes, you’ll have warm, buttery, cheesy biscuits perfect as a delicious start to any meal.
Read the Recipe: Red Lobster Cheddar Bay Biscuits Recipe